
Commercial Feature
How I Use Reference Audio to Ensure Sound Design Matches My Video Content
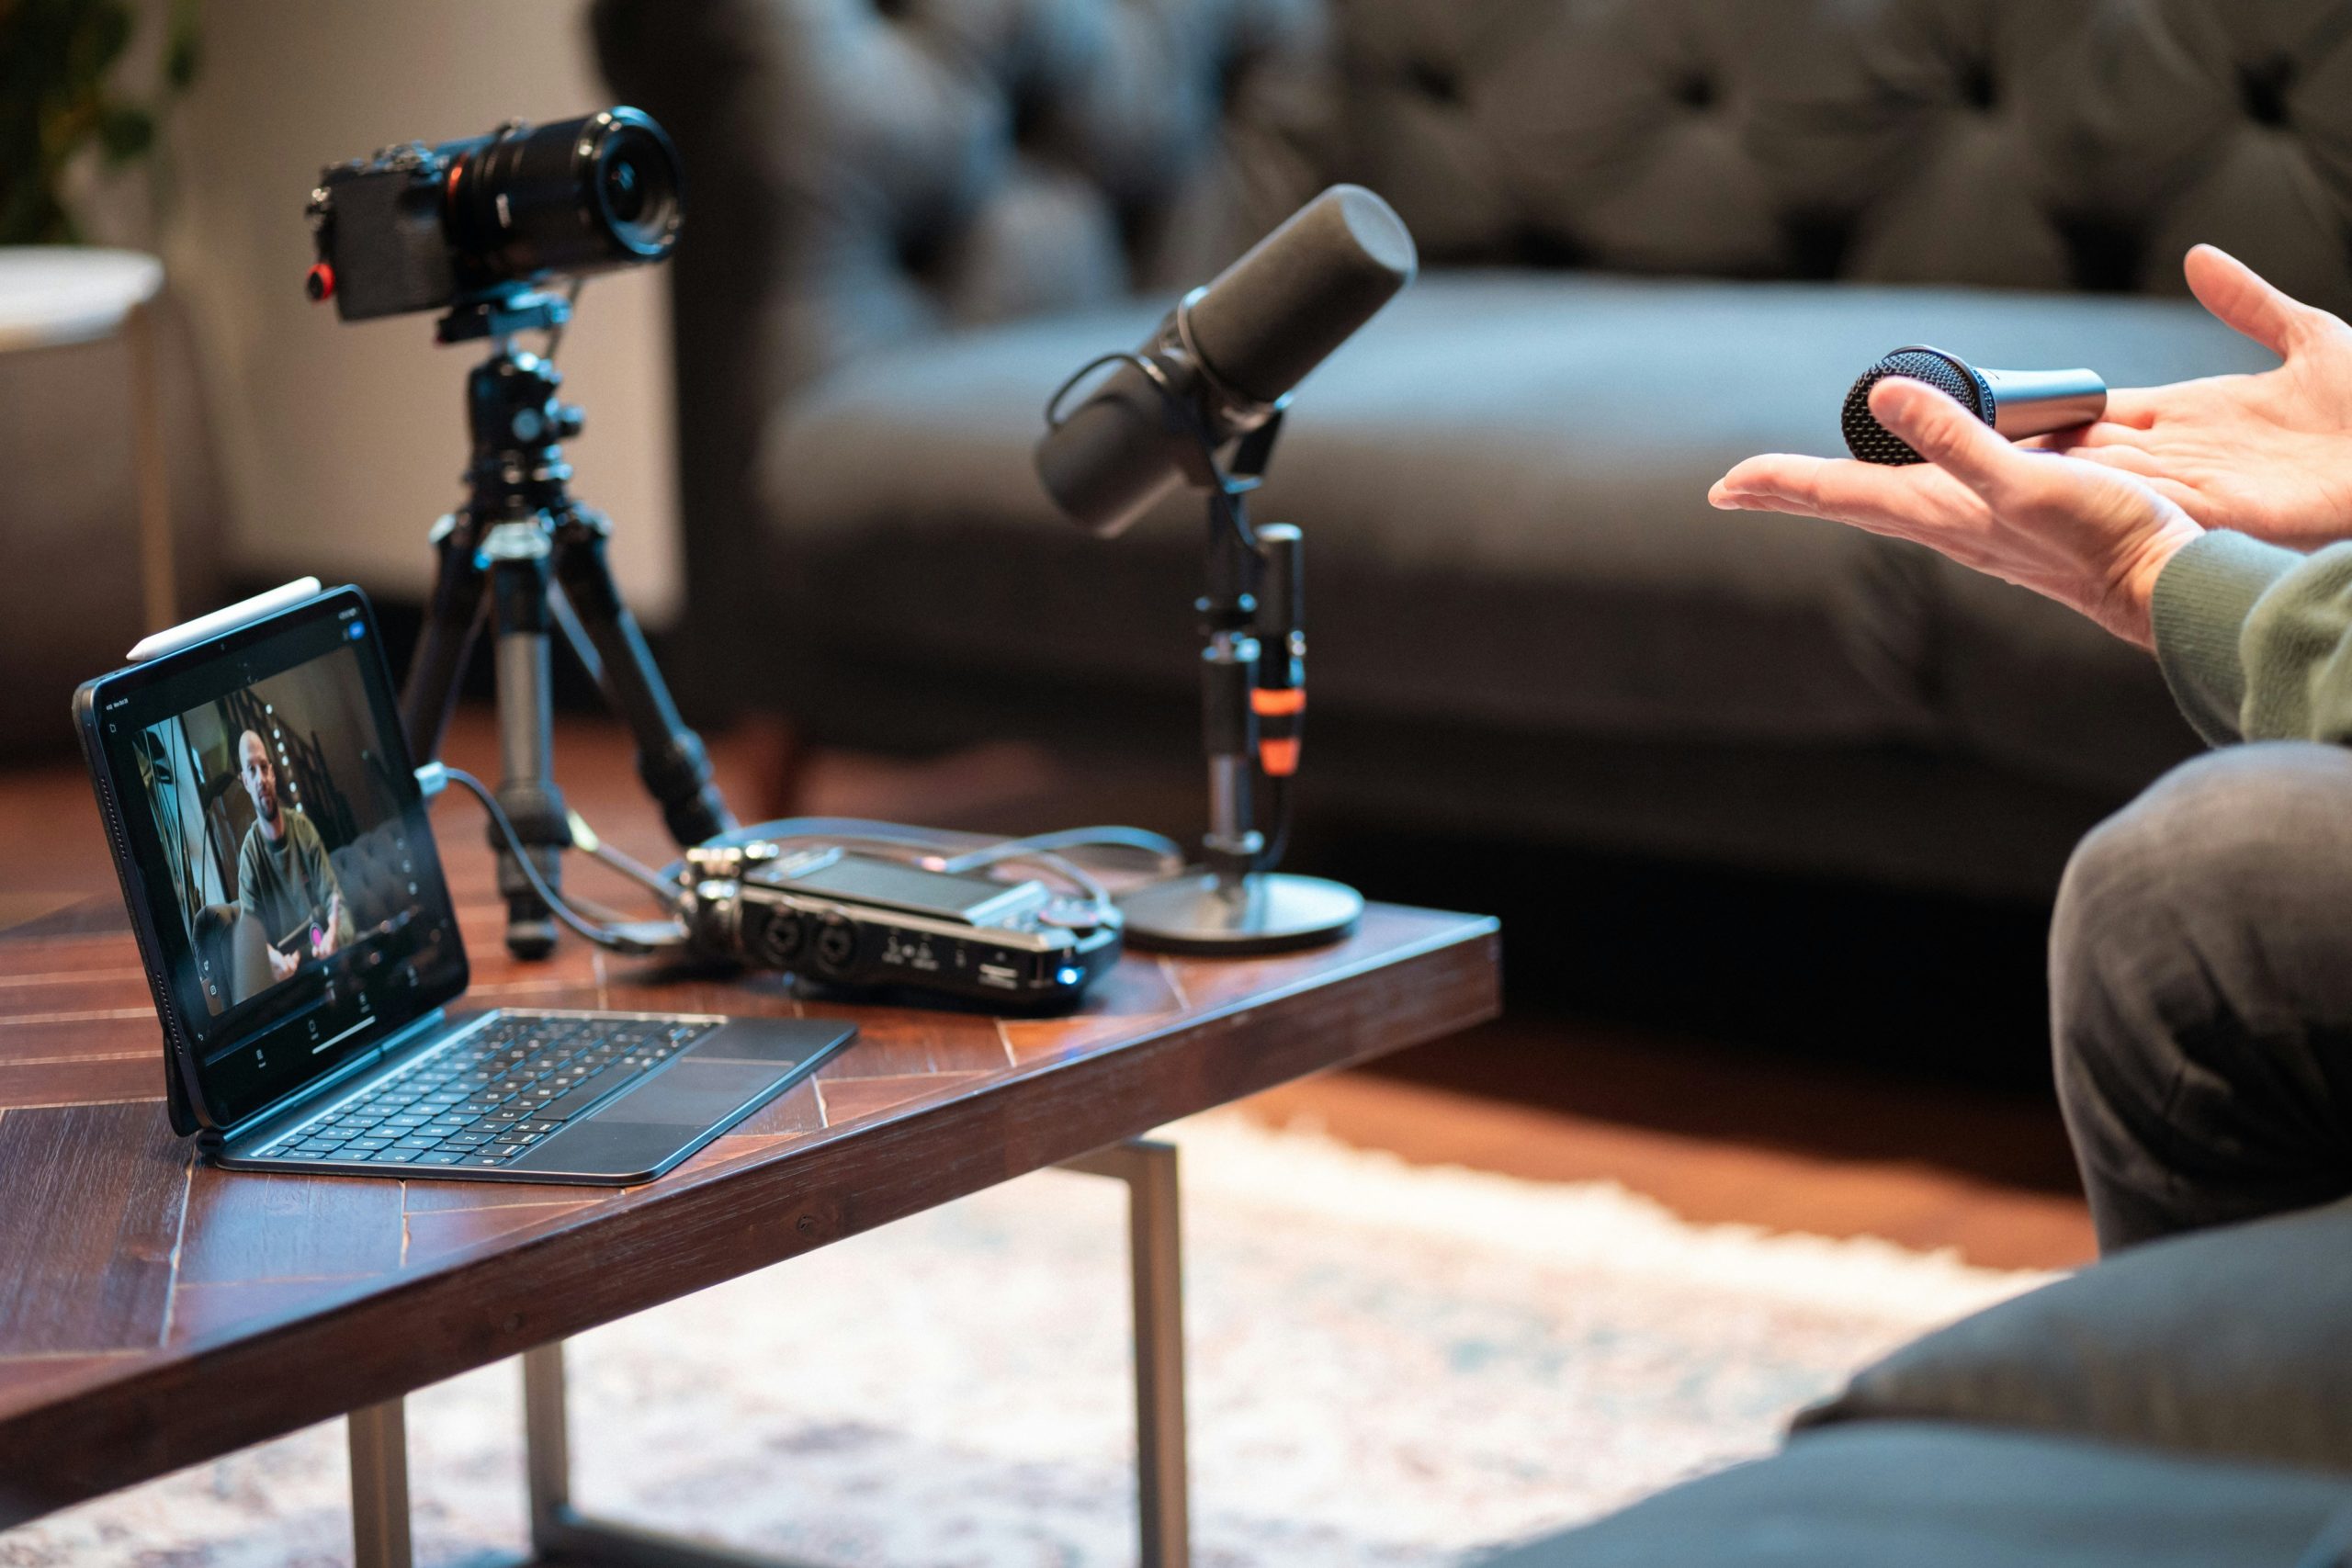
Video is a visual medium, but sound is equally important. A stunning visual with poor audio feels cheap and amateurish. The inverse—decent visuals with professional audio design—can feel surprisingly polished. Yet sound design is often an afterthought in video production, something added after the video is complete rather than designed as an integral part of the creative process.
When I started using Seedance 2.0, I realized I could approach audio differently. Instead of generating video and then adding audio afterward, I could use reference audio to guide the video generation itself, ensuring sound and vision were designed together from the start.
Why Audio Matters as Much as Video
Let me be clear about the stakes: poor audio can destroy otherwise great video. A beautifully shot scene with muddy, unclear audio feels amateur. A conceptually great video with mismatched sound design feels disjointed.
Conversely, professional-quality audio can elevate decent video. I’ve seen videos with simple visuals but excellent sound design that felt surprisingly polished and professional.
Audio influences:
Mood and Emotion: The same scene with dramatic orchestral music feels different than the same scene with ambient electronic music. Audio sets emotional tone in ways visuals alone cannot.
Pacing and Rhythm: Audio drives the viewer’s sense of pacing. Fast-paced music makes even slow visuals feel energetic. Slow, contemplative audio makes busy visuals feel calm.
Perceived Production Value: Professional audio—clear dialogue, well-designed sound effects, thoughtful music—makes video feel expensive and polished.
Narrative Clarity: In narrative content, audio cues guide what viewers should pay attention to. Sound effects, dialogue, and music direct viewer focus as much as visual composition does.
Accessibility: For viewers with hearing disabilities (when captions are provided), and for viewers watching without sound on social media, audio design becomes visual information that must be represented.
Despite its importance, audio is often treated as secondary. Most creators generate video first, then add audio in post-production. This creates a mismatch—the audio doesn’t match the visual pacing, the sound effects don’t align with on-screen action, or the music doesn’t fit the visual mood.
My Approach: Reference Audio in Seedance 2.0
When I discovered that Seedance 2.0 could accept reference audio as input, I realized this changed everything about how I approach sound design.
Instead of:
- Generate video
- Watch video
- Think about what audio should accompany it
- Record/add audio
- Try to sync them
I could now:
- Define the audio I wanted
- Use that audio to guide video generation
- Get video that’s already synchronized with audio
- Minor adjustments if needed
- Done
This is fundamentally different. The audio isn’t an afterthought—it’s part of the creative direction from the start.
How I Use Reference Audio in Practice
Step One: Define the Audio Vision
Before generating any video, I decide what audio I want. This might be:
- Existing music that I want video to match
- A voiceover script that I’ve recorded
- Sound effect references showing the kind of audio I envision
- A specific audio track that establishes mood
Step Two: Prepare the Audio
I prepare the audio file—either recording voiceover, selecting existing music, or gathering sound effect references. Seedance 2.0 accepts audio files up to 15 seconds total duration.
Step Three: Upload Audio + Visual Description
I upload the audio along with visual references (images, reference videos) and write a prompt that describes how the visuals should sync with the audio.
For example, my prompt might be:
“Create a product video for luxury leather goods. The audio (@audio1) is upbeat, energetic background music with a tempo of 120 BPM. Use reference images showing high-end leather (@image1-3).
Sync the video to the audio:
- Introduce the first product on the first beat
- Rotate/showcase products in rhythm with the music
- Build energy as the audio builds
- Peak energy at the strongest part of the music (at 0:45)
- Soften into the final 3 seconds as the music fades
The visual pacing should match the audio pacing exactly. When the music is energetic, motion should be dynamic. When the music is calm, motion should be subtle.”
Step Four: Review and Iterate
The generated video comes back already synchronized with the audio. The visuals match the audio pacing. Sound effects align with on-screen action. Music and motion feel coordinated.
If adjustments are needed, I use Seedance 2.0’s editing feature to refine specific segments, or I regenerate with adjusted audio/visual instructions.
Real Examples From Projects
Project 1: Fashion Product Showcase
Audio: Upbeat, modern background music with strong beat (128 BPM)
Approach: I uploaded the music and reference images of clothing. My prompt directed the video to showcase different items in rhythm with the beat—each product appearing on a strong beat, transitions happening on quieter moments.
Result: The final video felt like the products were “dancing” with the music. Viewer engagement was noticeably higher than previous product videos with mismatched audio.
Project 2: Educational Explanation
Audio: My recorded voiceover explaining a concept, with natural pacing and pauses
Approach: I uploaded the voiceover, reference diagrams, and images. My prompt instructed Seedance 2.0 to sync visual reveals with the voiceover—when I mentioned chloroplasts, show the chloroplast diagram; when I explained the process, show the process happening visually.
Result: Perfect audio-visual synchronization. Students could watch visuals that matched what they heard. No mental gap between audio description and visual representation.
Project 3: Documentary Sequence
Audio: Dramatic orchestral score with specific emotional peaks
Approach: I uploaded the music along with reference images from locations being featured. My prompt described which visual elements should appear during which parts of the score—calm scenes during softer music, dramatic reveals during crescendos.
Result: The pacing of visuals matched the pacing of music exactly. Emotional beats in the audio were reinforced by visual moments.
Key Principles I’ve Learned
Principle One: Tempo Matching
Match visual motion to audio tempo. If the audio is slow and contemplative, visuals should move slowly. If audio is fast and energetic, visuals should have quick cuts and dynamic motion.
Principle Two: Emotional Matching
The mood of the audio should match the mood of the visuals. Joyful music with somber visuals feels wrong. Energetic motion with melancholic music feels disjointed.
Principle Three: Synchronization Points
Identify specific moments where audio and visual should align—beats where something happens on screen, peaks where visuals should reach maximum intensity, transitions where visuals should shift as audio shifts.
Principle Four: Silence as Design
Silence in audio is as important as sound. Moments of quiet should be matched with subtle visual moments or stillness. Don’t fill every silent moment with busy visuals.
Principle Five: Layering
If you’re using multiple audio layers—dialogue, music, sound effects—different visual elements can sync with different layers. Dialogue might drive close-up shots while background music drives wider establishing shots.
Challenges and Solutions
Challenge One: Audio and Video Duration Mismatch
Sometimes my audio is 8 seconds but I want a 15-second video.
Solution: I either extend the audio by looping or extending it, or I accept that I’ll have audio for part of the video and silence for the rest. Sometimes silence at the end works aesthetically.
Challenge Two: Complex Audio Structures
Audio with multiple sections, key changes, or complex arrangements can be hard to sync visually.
Solution: I focus on the most important audio moments and sync those, accepting that other parts will be approximate. Perfect precision isn’t always necessary.
Challenge Three: Reference Audio Quality
Poor quality reference audio gives the model less to work with.
Solution: Use the highest quality audio possible. Clear, well-recorded audio guides better video generation than compressed or low-quality audio.
Why This Matters
Historically, sound design in video production was separated from visual production. You made the video, then you added sound. They were two separate processes that you tried to make work together.
With Seedance 2.0’s reference audio capability, you can integrate them. Audio becomes part of the creative direction, not an afterthought.
This matters because:
Better Integration: Audio and visuals feel designed together rather than assembled.
Faster Production: You’re not spending hours trying to manually sync audio and video in post-production.
Better Synchronization: When the audio guides video generation, synchronization is essentially built-in.
More Intentional Sound Design: By thinking about audio upfront, you’re more intentional about what audio you want and why.
Current Applications
I now use reference audio for:
Music Videos: Where synchronization with music is critical
Product Videos: Where music helps establish brand feeling and product pacing
Educational Content: Where voiceover drives what visuals are shown
Narrative Content: Where dialogue and music establish mood and pacing
Ambient Content: Where background audio creates atmosphere
Looking Forward
I’m interested in exploring:
- How to layer multiple audio references to create more sophisticated sound design
- Building a library of audio references (music, effects, ambiences) that work particularly well with Seedance 2.0
- How to use subtle audio cues to direct viewer attention in complex visual scenes
- Creating entirely audio-first workflows where audio drives everything else
The intersection of audio and visual in content creation is underdeveloped. Most creators think visually and add audio. I’m increasingly thinking audio-first—what audio do I want, and how should visuals support it?
The Bottom Line
Professional video requires professional audio. Seedance 2.0 makes it possible to create audio-visual content where sound and vision are designed together, not assembled separately.
You don’t need to be a sound designer to use reference audio effectively. You need to:
- Have audio you like (recorded voiceover, selected music, sound effect examples)
- Understand how that audio makes you feel
- Describe how visuals should match that audio
- Let Seedance 2.0 generate video synchronized with the audio
The result is content where audio and visuals feel like they were designed together. That cohesion—that sense that the creator thought intentionally about how sound and vision work together—is what separates professional content from amateur productions.
For creators serious about production quality, using reference audio to guide video generation is genuinely worth exploring. It’s a simple shift in thinking—audio-first instead of video-first—but it produces noticeably more polished results.
 News / Rowers fined nearly £4.5k for Lent Bumps misconduct9 April 2026
 News / Cambridge MP joins academics in funding cuts criticism8 April 2026
 Comment / Reframing the anti-AI ‘performance’9 April 2026
 News / Construction begins on controversial Queens’ accommodation6 April 2026
 Comment / I’m keeping the em dash7 April 2026
 Sport / Inside Fight Night’s knockout success10 April 2026
 News / Classics professor gave female student unconsensual ‘slobbery kiss’10 April 2026
 Arts / Re-viewing the Tudors at Downing Gallery10 April 2026
 Fashion / Here comes the sun!9 April 2026
 Lifestyle / How to escape the holiday with a will to live9 April 2026